
How to Build a Home Recording Studio
Creating a home recording studio is a game-changer for musicians like Kade Lu, whose awesome tracks, such as “New Face,” showcase the power of high-quality production from the comfort of home. With the right setup, you can achieve professional-grade recordings without the expense of commercial studio time. Kade Lu uses Logic Pro as her Digital Audio Workstation (DAW), a Warm Audio WA-251 microphone, and an Apple Mac Mini as her computer—choices that reflect a balance of quality and accessibility. This guide will walk you through building your own home recording studio, covering essential gear, setup tips, and acoustic considerations to help you produce music just like Kade Lu’s sound.
1. Choosing the Right Space
The foundation of any home recording studio is the space itself. You don’t need a massive room, but selecting the right environment is crucial. A spare bedroom, basement, or even a corner of a living space can work if chosen thoughtfully. Avoid rooms with low ceilings or square dimensions, as these can cause sound reflections that muddy recordings. Kade Lu, for instance, uses her basement for optimized space suited for her solo vocal and instrumental work. Aim for a room with enough space for your gear—computer, audio interface, microphone, and monitors—while leaving room to move comfortably.
Consider the room’s natural acoustics. Hard surfaces like tile or bare walls cause echo, so prioritize spaces with carpets, curtains, or furniture to dampen sound. If your budget allows, invest in acoustic treatment like bass traps and foam panels to control reflections. A small room can suffice for solo artists, but ensure it’s quiet, away from external noise like traffic or appliances. Choose a setup thrives in a focused, distraction-free environment, perfect for capturing your desired sound!
2. The Computer: The Heart of Your Studio
Your computer is the hub of your studio, handling the processing demands of your DAW and storing large audio files. Kade Lu uses an Apple Mac Mini, a compact yet powerful choice for music production. The Mac Mini, especially models with the M2 chip or higher, offers robust performance with at least 16GB of RAM and 512GB of storage, ideal for running Logic Pro smoothly. Its portability and quiet operation make it a favorite for home studios, as noted in discussions on music forums like Fractal Audio Systems, where users praise its reliability for DAW tasks.
If you’re on a budget, a refurbished Mac Mini or a Windows PC with similar specs (i5/i7 processor, 16GB RAM, 1TB SSD) can work. Avoid skimping on RAM, as music production software and plugins are memory-intensive. An external hard drive is also a smart addition for storing project files, ensuring your computer doesn’t slow down during complex sessions. The Mac Mini aligns with Logic Pro’s seamless integration with macOS, offering stability and a user-friendly interface for her creative workflow.

3. Digital Audio Workstation (DAW): Logic Pro
The DAW is your virtual recording studio, and Kade Lu’s choice of Logic Pro is a testament to its versatility. Priced at around $200, Logic Pro is a cost-effective option exclusive to Mac, packed with virtual instruments, effects, and AI-driven tools like Smart Tempo and Flex Pitch, as highlighted on Apple’s website. These features allow you to craft intricate arrangements, manipulate vocals, and create polished mixes. Logic Pro’s Live Loops and Session Players make it easy to experiment with ideas, perfect for indie pop artists.
For beginners, Logic Pro’s intuitive interface and extensive plugin library reduce the need for third-party software. If you’re not on a Mac, alternatives like Ableton Live, Reaper, or FL Studio are excellent, but Logic Pro’s value and integration with the Mac Mini make it a top pick. Spend time learning its features—you can leverage Logic’s Mastering Assistant to achieve release-ready tracks. Download a trial or explore GarageBand (free with Macs) to ease into Logic’s workflow.
4. Audio Interface
An audio interface converts analog signals from microphones and instruments into digital signals for your DAW. Options like the Focusrite Scarlett 2i2 ($150–$200) or Universal Audio Apollo Solo ($500) offer clean preamps and phantom power.. The Scarlett 2i2, praised by Shure for its affordability, is ideal for beginners recording vocals or instruments one at a time.
Choose an interface with at least two inputs if you plan to record stereo sources like acoustic guitars. Thunderbolt or USB-C connectivity ensures compatibility with the Mac Mini. Check for bundled software—many interfaces include free DAW plugins to enhance your productions.
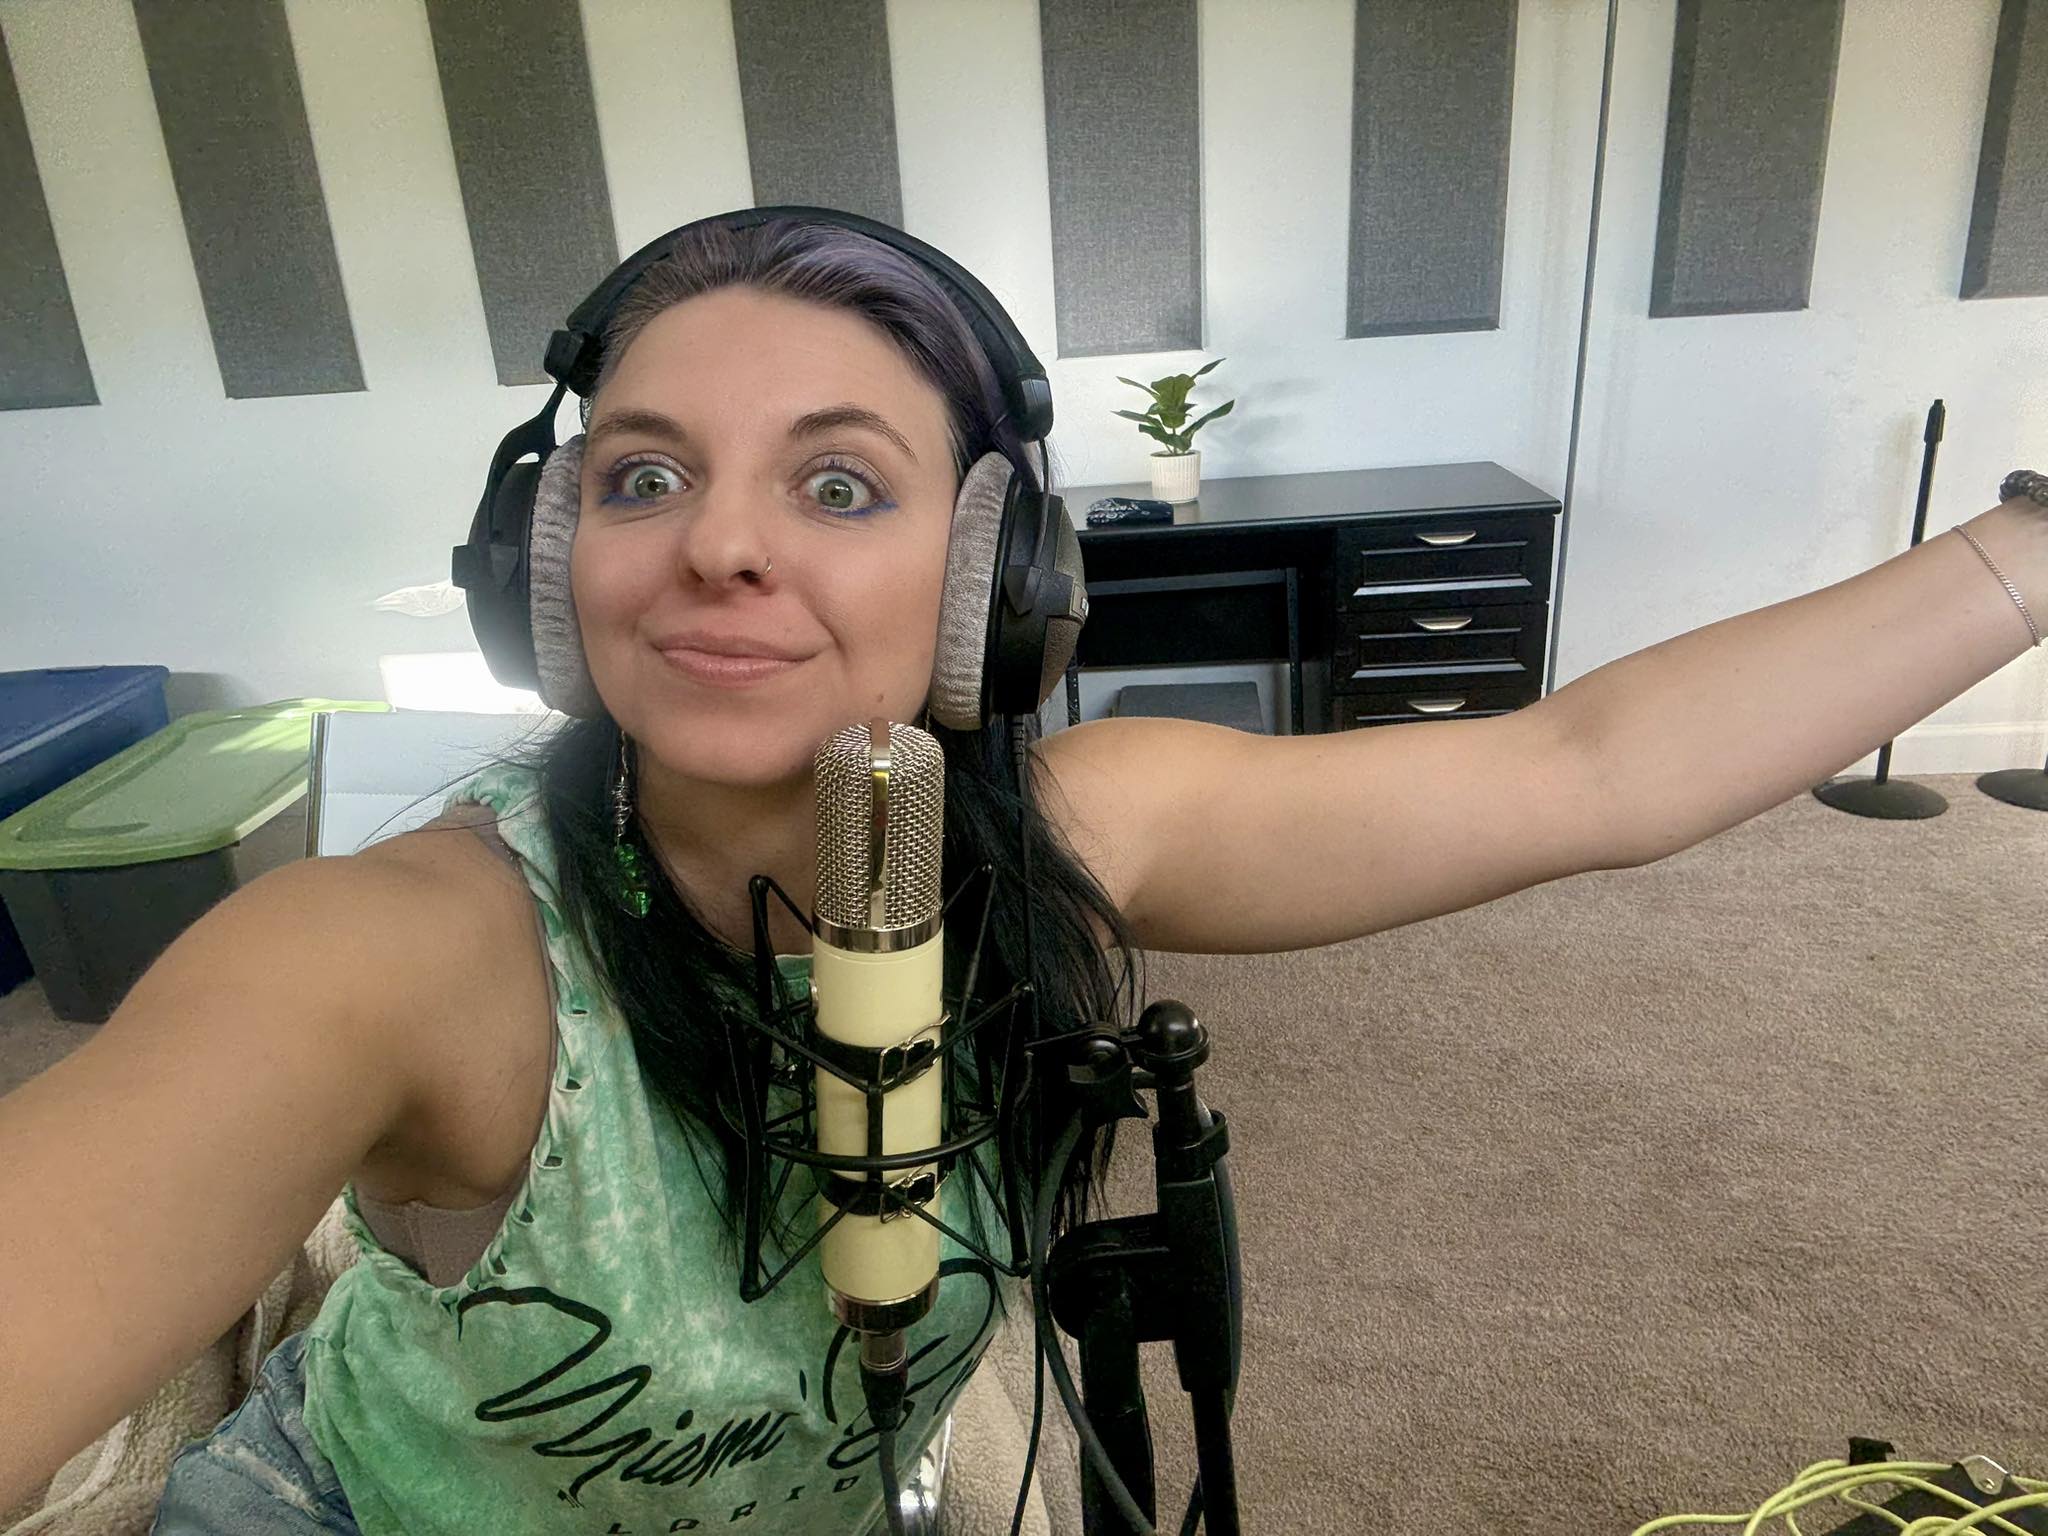
5. Microphone: Warm Audio WA-251
The microphone is the voice of your studio, and Kade Lu’s choice of the Warm Audio WA-251 is a standout. This tube condenser mic, inspired by the classic Telefunken ELA M 251, delivers warm, detailed vocals perfect for indie pop. Priced around $849, it’s a mid-range option that rivals high-end mics, offering clarity for vocals and instruments. As noted by Point Blank Music School, condenser mics like the WA-251 are versatile for capturing nuanced performances, making it ideal for Kade Lu’s emotive style.
You’ll need an XLR cable, a sturdy mic stand, and a pop filter to prevent plosives during vocal recording. A shock mount is also recommended to stabilize the WA-251. For budget-conscious beginners, the Audio-Technica AT2020 ($100) is a solid alternative, but the WA-251’s rich tone elevates recordings to a professional level. Place the mic 6–12 inches from the source and away from reflective surfaces to avoid unwanted echoes.

6. Studio Monitors and Headphones
Accurate monitoring is crucial for mixing. Studio monitors like the Yamaha HS5 ($200 each) or KRK Rokit 5 ($150 each) provide a flat frequency response, ensuring you hear your tracks as they truly sound. Place monitors on stands or isolation pads to minimize vibrations, as suggested by Logic Studio Training.
For headphones, closed-back models like the Audio-Technica ATH-M50x ($150) are ideal for recording, preventing sound bleed into the WA-251. Open-back headphones, like the Beyerdynamic DT 990 Pro, are better for mixing. .
7. Acoustic Treatment
Even with top-tier gear, poor room acoustics can ruin recordings. Acoustic panels, bass traps, and diffusers control reflections and bass buildup. For a small room, start with foam panels on walls and bass traps in corners, costing $100–$300. If budget is tight, DIY solutions like blankets or bookshelves can help, but professional treatment yields better results.
8. Additional Gear
A MIDI keyboard, like the Akai MPK Mini ($100), enhances Logic Pro’s virtual instruments, letting you play synths or piano parts. Cables (XLR, 1/4-inch) and a studio desk organize your setup.
9. Setting Up and Workflow
Position your Mac Mini centrally, connect the audio interface via USB-C or Thunderbolt, and link the WA-251 to the interface. Set up Logic Pro, configure your interface, and test the WA-251 for phantom power. Place monitors symmetrically and treat your room to optimize sound. Experiment with Logic Pro’s plugins to emulate Kade Lu’s polished sound, focusing on EQ, compression, and reverb for vocals.
Final Thoughts
Building a home studio like Kade Lu’s is about quality and simplicity.
Leave a Reply